Overview:
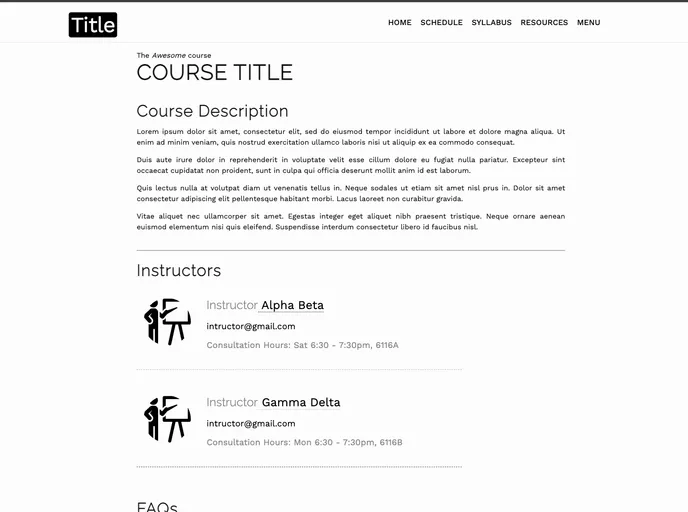
Orca is a Jekyll template designed for easy creation of course websites without the need for coding HTML pages. With Orca, users can make changes using user-friendly syntax to create simple and elegant course websites. The template has a minimalistic design and is highly flexible and responsive. It has been used in various courses such as Functional Programming with Python at BITS Pilani, Natural Language Processing at BITS Pilani, Software Engineering at GIT Jaipur, Data Structures & Algorithms at GIT Jaipur, and Computational Biology at Tufts University.
Features:
- Simple, elegant and minimalistic design: Orca has a clean and minimalist design, making it perfect for course websites.
- Easy to create: Users can make changes using user-friendly syntax and quickly have their website up and running.
- Free hosting on GitHub Pages: Users can host their website for free on GitHub Pages.
- Highly flexible and responsive: The template is highly flexible and can be easily customized to fit different course needs.
Installation:
To install Orca Jekyll template, follow the steps below:
Install Jekyll and build locally (optional):
- Refer to the guide here for instructions on how to install Jekyll and build the website locally. This step is optional and only needed if you want to build the website on your local machine.
Quick setup:
- Click on the ‘Use this template’ button above and fill in the repository details.
- Once the repository is created, clone it to your local machine.
- Make the necessary changes to the cloned repository as described below.
Adding assets:
- Add any data files such as lecture slides, notes, and assignments in their respective subdirectories in the “assets” directory.
- If images are needed, add them directly to the “assets” directory.
- Make sure to explicitly name the resources with their complete file extensions (e.g., .pdf).
Set up header and footer:
- In the “_data” directory, go to the “includes” subdirectory and open the “header.yml” file.
- Customize the tabs in the existing format to set up the header.
- Similarly, customize the footer as per your preference.
Adding data in .yml files:
- In the “_data” directory, go to the corresponding subdirectories to add data to the HTML pages.
- For example, to add content to the “Resources.html” page, go to the “resources” subdirectory of the “_data” directory.
- Use the .yml files in each subdirectory to add content.
- Avoid changing the keys/file names unless necessary.
- When writing HTML code in the .yml files, use basic HTML tags explicitly.
Creating new pages:
- To create new pages on your website, simply create a file named “your_title.html” in the root directory.
- Add the necessary front-matter to the new page file similar to the structure in the “extra.html” file.
- Don’t forget to include the front-matter as the webpage will not render properly without it.
Configure the c…
Summary:
Orca is a Jekyll template that simplifies the process of creating course websites without the need for coding HTML pages. It offers a simple, elegant, and minimalistic design perfect for course websites. With its user-friendly syntax, users can easily customize the template and have their website up and running in no time. Orca is highly flexible and responsive, allowing users to adapt it to their specific course needs. Hosting the website is made easy with free hosting on GitHub Pages. By following a few simple installation steps, users can harness the power of Orca to create effective course websites.


